

Dumpster diving at its finest! I love the phrase “One man’s trash is another man’s treasure”. There is no better feeling than taking a forgotten, torn up old piece of furniture and making it beautiful once again and bringing it back to life.
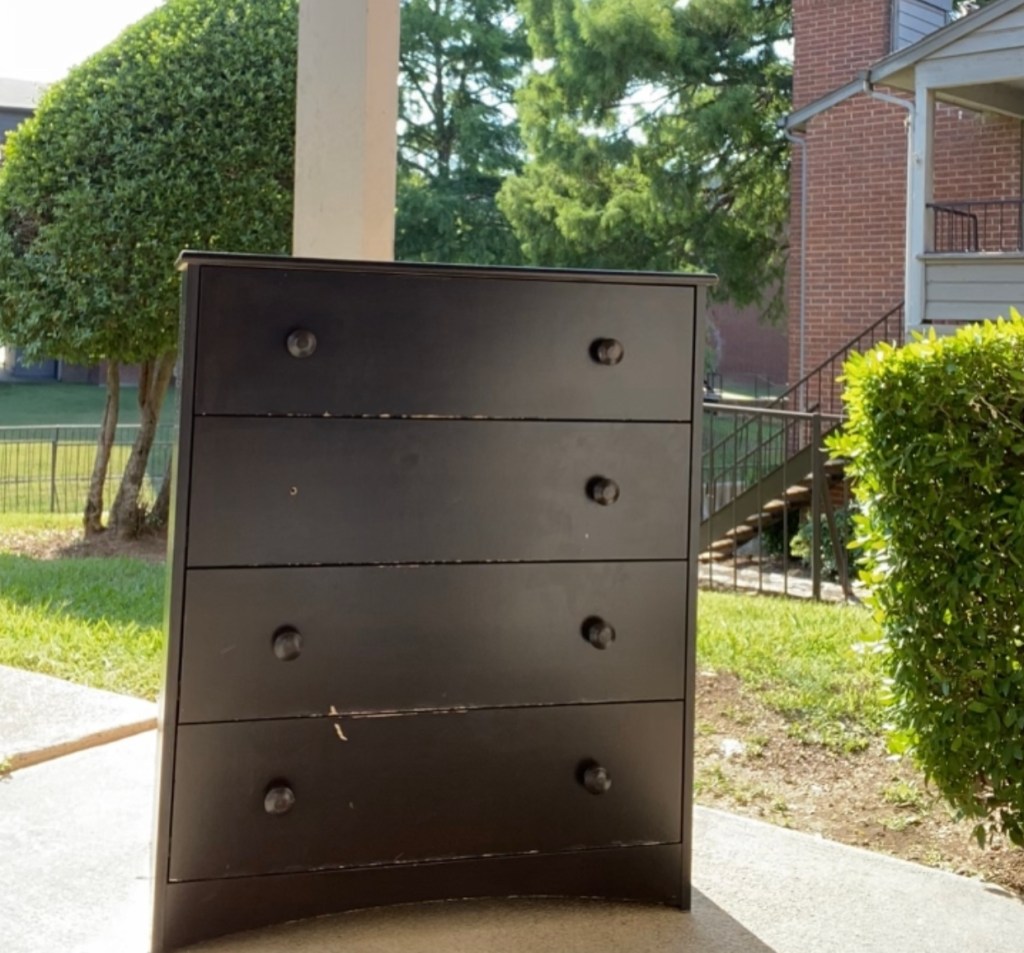
With that, I found this piece of furniture in the dumpster at our apartment complex. It was chipped, cracked, and broken.
Nothing a little TLC can’t fix, and you can do this with a few materials and a little bit of elbow grease.

Shopping List
- Plastic Wood (All purpose wood filler)
- Putty Knife
- BIN Primer (Can be used on laminate finish)
- Your Color Paint of Choice (I used BEHR DYNASTY) (Matte North Woods GN8-7)
- Mini High Density Foam Paint Roller with Frame (I recommend getting extra rollers as the Primer is extremely thick and will more than likely need to be disposed of after one use.
- Angle Paint Brush
- Paint Roller Tray
- Sand Paper (Coarser the better – I used a 100 Grit)
- Knobs of Choice depending on what type of furniture you are using
- Screw driver, or power drill
Directions
- I first started by sanitizing the furniture and vacuuming it out as it was in rough condition with liquid of some sort on the outside. Thankful enough that there had not been any interior stains. In that case I would have used a liner or wall paper for the lining of the dresser drawers.
- After cleaning the dresser, I then began to remove the knobs.
- Now time to sand, all over. Yes all over creating a rough texture on the laminate giving the primer something to stick to.
- If you have cracks or holes (such as knob holes that need to be filled) now take your plastic wood and putty knife and apply to the cracks and holes.
- Once it has dried it will turn from a pink to a light tan color.
- Then re-sand the areas that has the plastic wood putty making the surface smooth with a rough texture.
- I then take the primer and mix it with a stir stick, and once thoroughly mixed I placed a large plastic bag over my paint tray. (I do this when I need multiple uses out of the same tray and for easy clean up. All you have to do is remove the bag and throw it away with the roller afterwards.)
- I then pour my primer into the tray, and start by taking the angle paint brush and painting all of the hard to reach areas and applying an even coat of primer.
- Then I begin working it in the paint into the roller to create a smooth consistency on the roller, and begin applying to the entire dresser.
- Then repeat for a second time once dry.
- Once the primer has completely dried, I mix the paint of your choice. Pour into your clean paint tray with a new bag, and fresh foam paint roller, and clean angle paint brush.
- Start by using your angle brush for all of the hard to reach areas, followed by using your foam roller all over with an evenly spread coat of paint. Depending on the color you will want to repeat this step 2 to 3 times.
- I repeated step 12 three times due to using a dark color.
- Once finished, I let the paint dry overnight.
- I ordered my solid wood rectangle drawer pulls from amazon.
- The following day, I measured and pre-drilled the holes with a drill bit, and then used a hand held screw driver to fasten the screws.
- Now you have a complete and beautiful piece of furniture that you brought back to life.
I can’t wait to see all of your creations, and if you decide to use this method to refinish your furniture be sure to tag us at #SSM or #SimplySouthernMama.
Let us know how we did below, and what you think of this new staple piece for our master bedroom!

Leave a comment